

- v2 · Recommended
- v1 · Legacy
In a nutshell
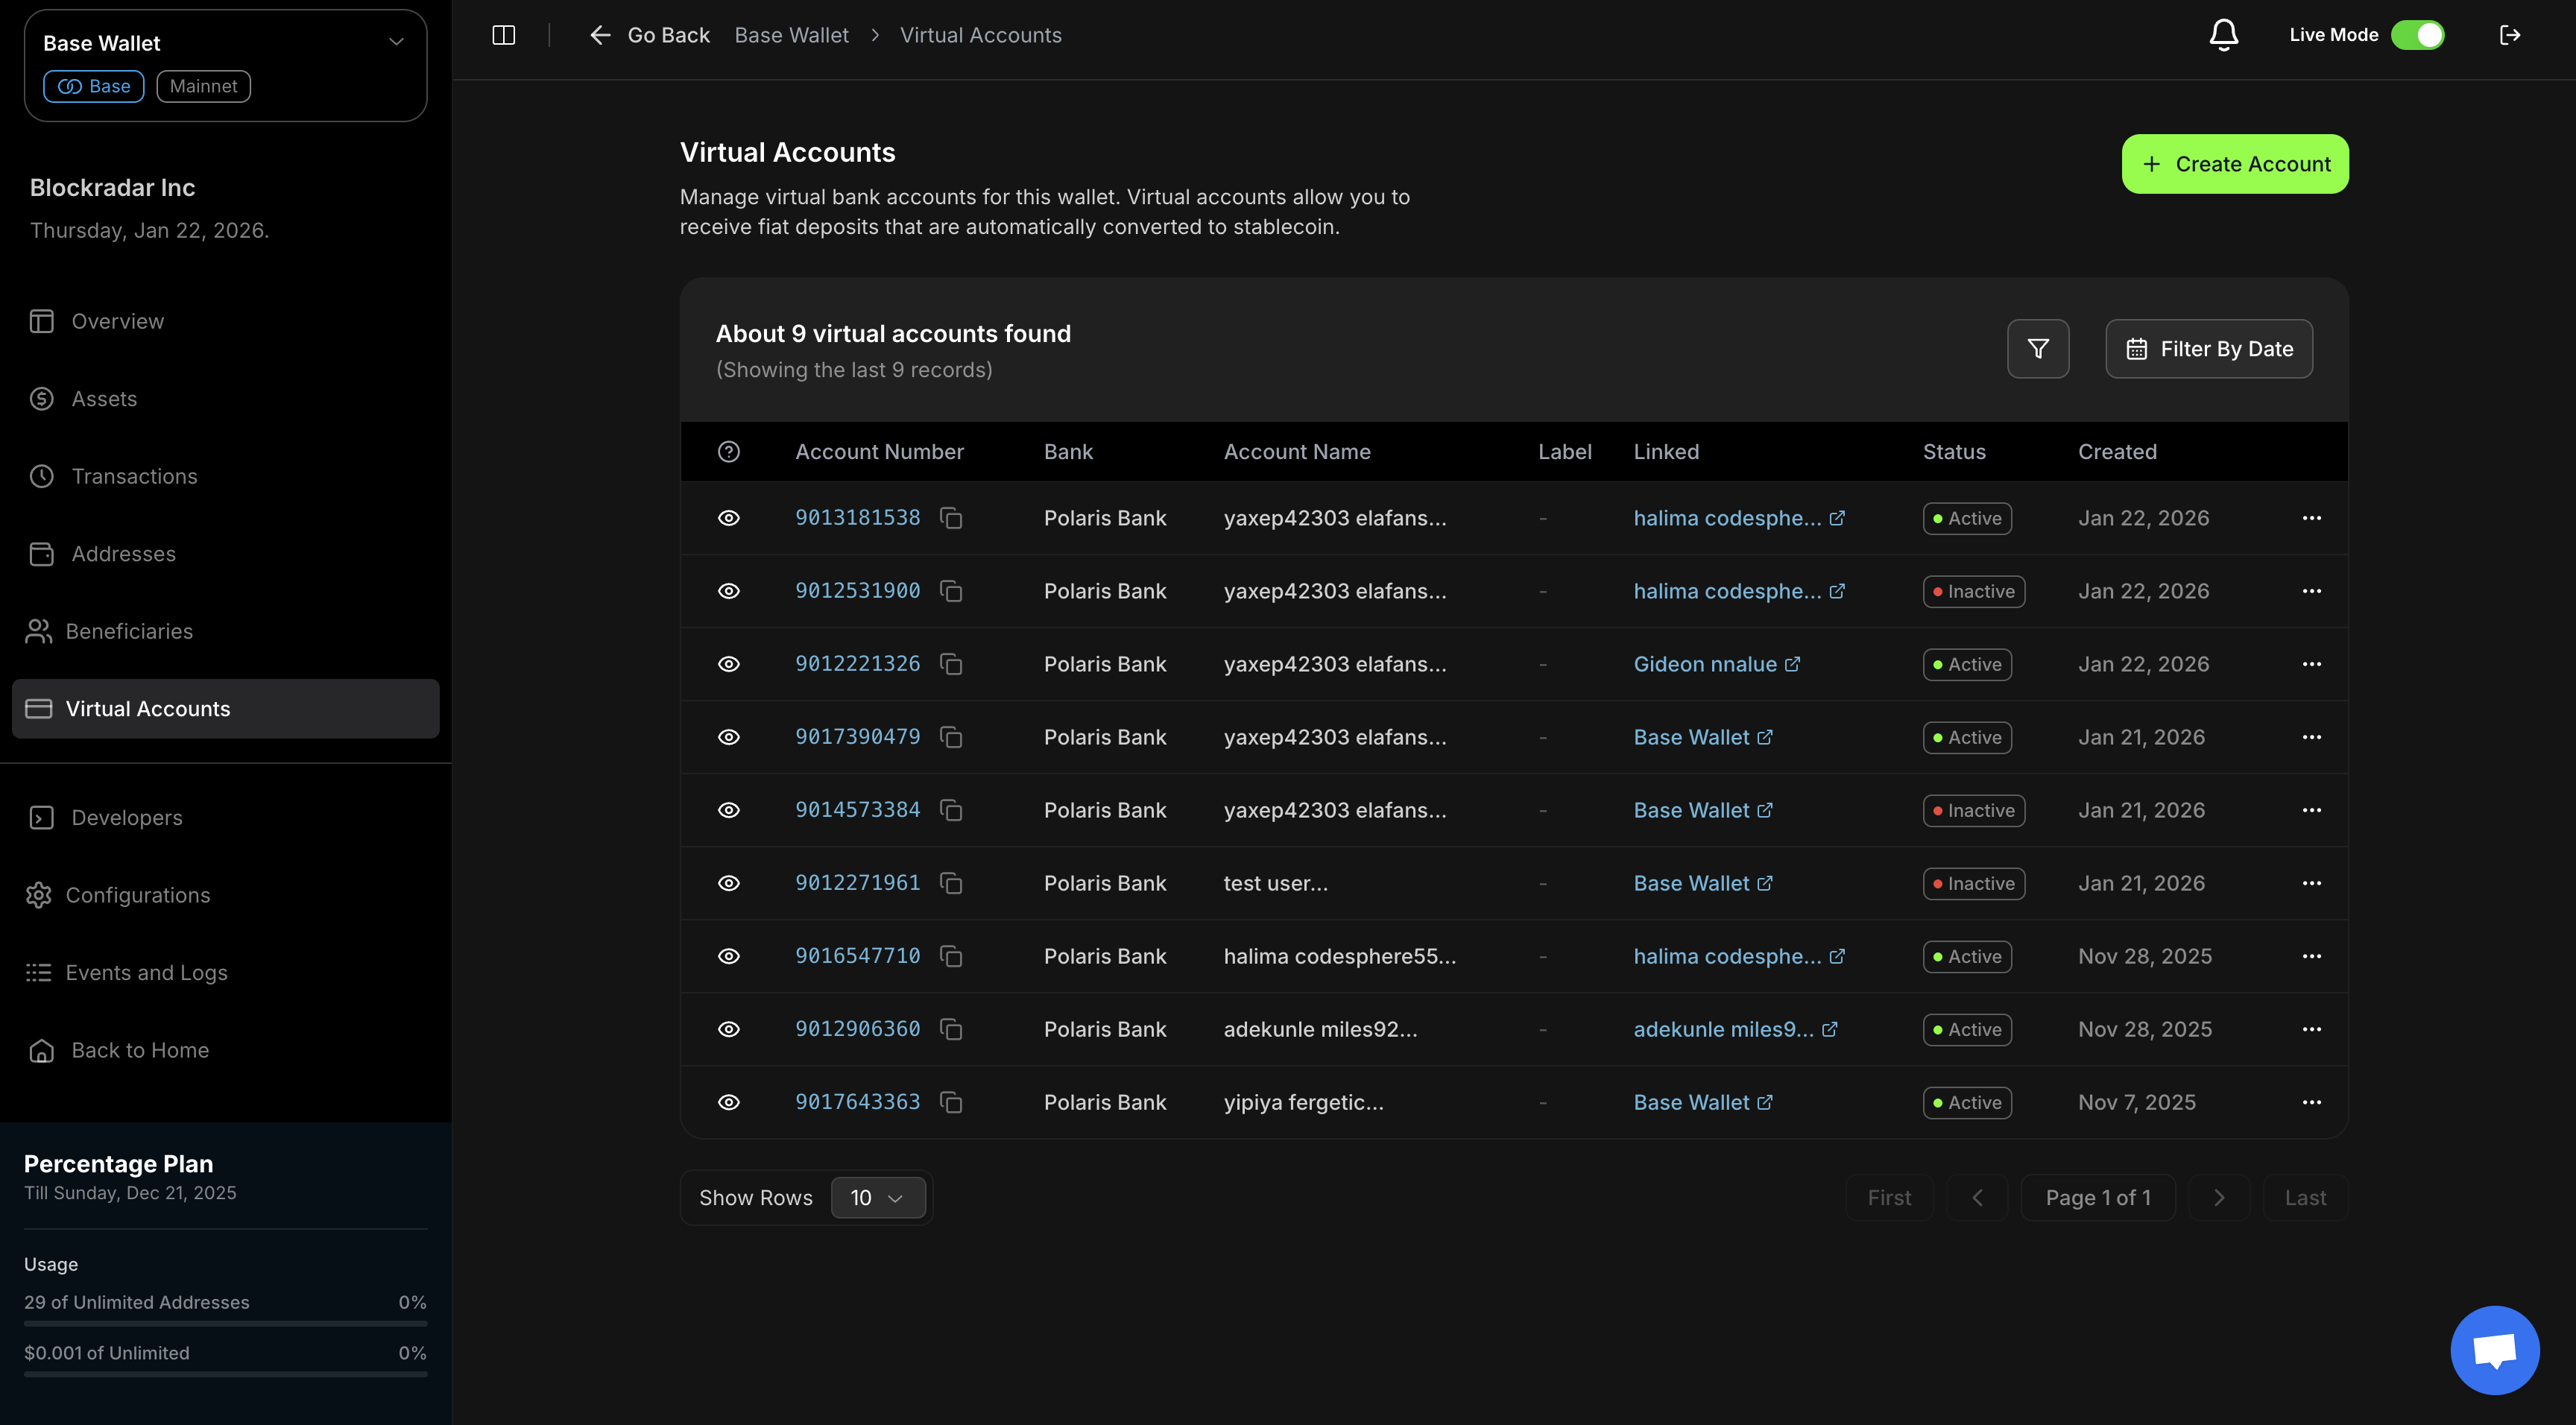
Virtual Accounts let your customers receive fiat through traditional bank transfers, which are automatically converted to stablecoins on the blockchain. The v2 flow discovers the assets and currencies available to your wallet, returns a schema describing exactly what each corridor requires, and creates virtual accounts linked to a master wallet or child address across multiple currencies and stablecoins.
Virtual Accounts let your customers receive fiat through traditional bank transfers, which are automatically converted to stablecoins on the blockchain. The v2 flow discovers the assets and currencies available to your wallet, returns a schema describing exactly what each corridor requires, and creates virtual accounts linked to a master wallet or child address across multiple currencies and stablecoins.
v2 requirements return a JSON Schema describing the information a corridor needs.
When
additionalDataRequired is true, use the Dynamic
Forms guide to collect, validate, and submit the
fields as additionalData. The v1 flow is available in the v1 · Legacy tab, but is no longer recommended.Prerequisites
Before using Virtual Accounts, ensure you have:1
API Key
Get your API key from the Blockradar Dashboard. Navigate to Developers to generate one.
2
Wallet Created
Create a wallet via the Create a Master Wallet guide or dashboard. You’ll need the
walletId for virtual account operations.3
Compliance Approved
Complete the Due Diligence process on the Dashboard: My Wallets → Settings → Compliance. Compliance requirements and approval processes vary by geography, so you only need to complete the ones for the local rails your product uses.
4
Feature Enabled
Request virtual accounts feature activation after compliance approval. Contact [email protected] or use live chat on the dashboard.
5
Mainnet Environment
Availability depends on configured provider routes. Testnet requests use only testnet routes and wallets; mainnet requests use only mainnet routes and wallets.
6
Stablecoin Support
Depositing fiat and converting it to a stablecoin is a paid feature. Ensure your plan includes stablecoin access. Upgrade from Dashboard → Settings → Subscription.
How It Works
Discover Options
Fetch the assets and currencies available to your wallet.
Get Requirements
Retrieve the schema describing what the selected corridor needs.
Create Account
Create a virtual account with
additionalData and an optional label.Auto-Funding
Incoming fiat automatically mints the equivalent stablecoin to the linked wallet or address.
Supported Fiat Currencies
Currencies vary by corridor and provider. Always fetch what’s available to your wallet with the discovery endpoint rather than hard-coding the list. The snapshot below shows USD, EUR, and the main LATAM corridors; see the full fiat-to-chain matrix on the Supported Fiat Currencies page.Auto-Funding Flow
All virtual accounts useAUTO_FUNDING, which automatically converts fiat to
stablecoin. When a customer sends fiat to a virtual account:1. Payment Receipt
The payment is received in the virtual account through a bank transfer. Aonramp.processing webhook is triggered at this stage.2. Automatic Minting
The system automatically mints the stablecoin equivalent on the blockchain.3. Blockchain Transfer
The minted stablecoin is transferred to the virtual account’s linked wallet or address. Anonramp.success webhook is triggered upon successful completion.Supported Assets and Currencies
v2 supports multiple stablecoins and currencies. Rather than assuming a fixed pair, fetch what’s available to your wallet with the discovery endpoint. For example, NGN bank transfers can auto-fund cNGN, while other corridors settle to USDC or other supported assets.API Endpoints
Master Wallet Endpoints
Child Address Endpoints
Step 1: Discover Options
Fetch the assets and currencies available to your wallet for virtual accounts.Discovery Response
Step 2: Get Requirements
Fetch the schema describing what the selected currency (and optionally asset) requires. Interpret and complete it with Dynamic Forms.Requirements Response
If
additionalDataRequired is false, you can skip collecting additionalData
and create the account directly. Use the provider returned here when you
create the account.Step 3: Create a Virtual Account
Create a virtual account for a master wallet or child address. Send the validatedadditionalData object built from the requirements schema.Response Example
Changing a Virtual Account Destination
Providers that support destination changes can point an existing virtual account at another master wallet or child address without replacing its bank account details.First, discover the destinations supported by the virtual account’s current provider and fiat currency:supported: false
means the current provider does not support changing destinations. Destination
options always match the request environment: testnet requests return only
testnet wallets and routes, while mainnet requests return only mainnet wallets
and routes.Destination Discovery Response
addressId to use the
master wallet address.409 Conflict when the virtual
account already uses the selected destination. A provider confirmation mismatch
returns 502 Bad Gateway, and the local destination remains unchanged.Listing Virtual Accounts
The list endpoint returns a paginated list of virtual accounts. Use query parameters to search, filter by activation state, and filter by date range.Query Parameters
Response Example
Retrieving a Single Virtual Account
To retrieve a specific virtual account by ID, use the Get Virtual Account API for master wallets or the Get Virtual Account API for child addresses.Virtual Account Transactions
Retrieve the transactions associated with a virtual account using the child address transactions endpoint. Every auto-funding event is also delivered via webhooks.Query Parameters
Response Example
Updating Virtual Accounts
Activate or deactivate a virtual account to control auto-funding behavior. Use the Update Virtual Account API for master wallets or the Update Virtual Account API for child addresses.Auto-Funding Behavior
- Active accounts: Payments received trigger automatic stablecoin minting.
- Inactive accounts: Payments are received but auto-funding is disabled.
Update Parameters
Request Example
When a virtual account is deactivated (
isActive: false), payments can still be
received but the automatic stablecoin minting and transfer process is disabled.
You can reactivate the account at any time to re-enable auto-funding.Regenerating Virtual Accounts
The regenerate endpoint creates a new virtual account for a customer while deactivating the existing one. This is useful when:- A customer’s bank account details need to change
- The virtual account has been compromised
- You need to migrate a customer to a different provider
Regenerate Parameters
Request Example
The regenerate operation deactivates the existing virtual account and creates a
new one. The original account’s transaction history is preserved and can still
be queried.
Webhooks
Virtual accounts trigger webhook events when payments are received and processed. Fiat-to-crypto settlement uses the unifiedonramp.* transaction
event family.Webhook Events
onramp.processing— Triggered when the fiat payment is detected and settlement begins.onramp.success— Triggered when the destination asset is settled to the linked wallet or address.onramp.failed— Triggered if the onramp cannot be completed.onramp.cancelled— Triggered if the onramp is cancelled before completion.
Webhook Payload Example
Webhooks are only triggered for active virtual accounts (
isActive: true). If
an account is deactivated, payments may still be received but webhook events will
not be sent until the account is reactivated.What’s Next
Once the stablecoin is in your wallet:- Swap — Convert to USDT, USDC, or other stablecoins on-demand
- Auto-Settlement — Automatically convert to USDT/USDC on every deposit
Use Cases
E-commerce Payments
Create virtual accounts for customers to receive payments for products or services, automatically converted to stablecoins for your blockchain-based payment system.Subscription Services
Link virtual accounts to customer subscriptions, allowing recurring bank transfers that are automatically converted to stablecoins.Marketplace Transactions
Enable transactions where customers send fiat payments that are instantly converted to stablecoins and credited to their wallet.Remittance Services
Provide customers with virtual accounts to receive local-currency remittances, automatically converted to stablecoins for cross-border transfers.Best Practices
Account Management
- Use the requirements schema: Collect only the fields in the current requirements schema. Do not hard-code onboarding fields — see Dynamic Forms.
- Reuse the returned provider: Create with the
providerreturned by the requirements request. - Label your accounts: Set a
labelto make accounts searchable and easy to reconcile. - Account activation: Deactivate accounts you are not ready to fund; reactivate when ready.
- Document regeneration reasons: Always provide a clear
reasonwhen regenerating for audit purposes.
Security
- Customer verification: Verify customer information before creating virtual accounts.
- Preserve strings: Send identifiers and codes as strings to avoid precision loss.
- Access control: Implement proper access controls for virtual account management.
Error Handling
The API returns standard HTTP status codes and error responses.Error Response Example
API Reference
v2 (Recommended)
Support
- Email: [email protected]
- Live chat: Available on the dashboard
- API Reference: Virtual Accounts API