> ## Documentation Index
> Fetch the complete documentation index at: https://docs.blockradar.co/llms.txt
> Use this file to discover all available pages before exploring further.
# Use Without Code
> Receive payments, send funds, and monitor transactions from the dashboard, no code required.
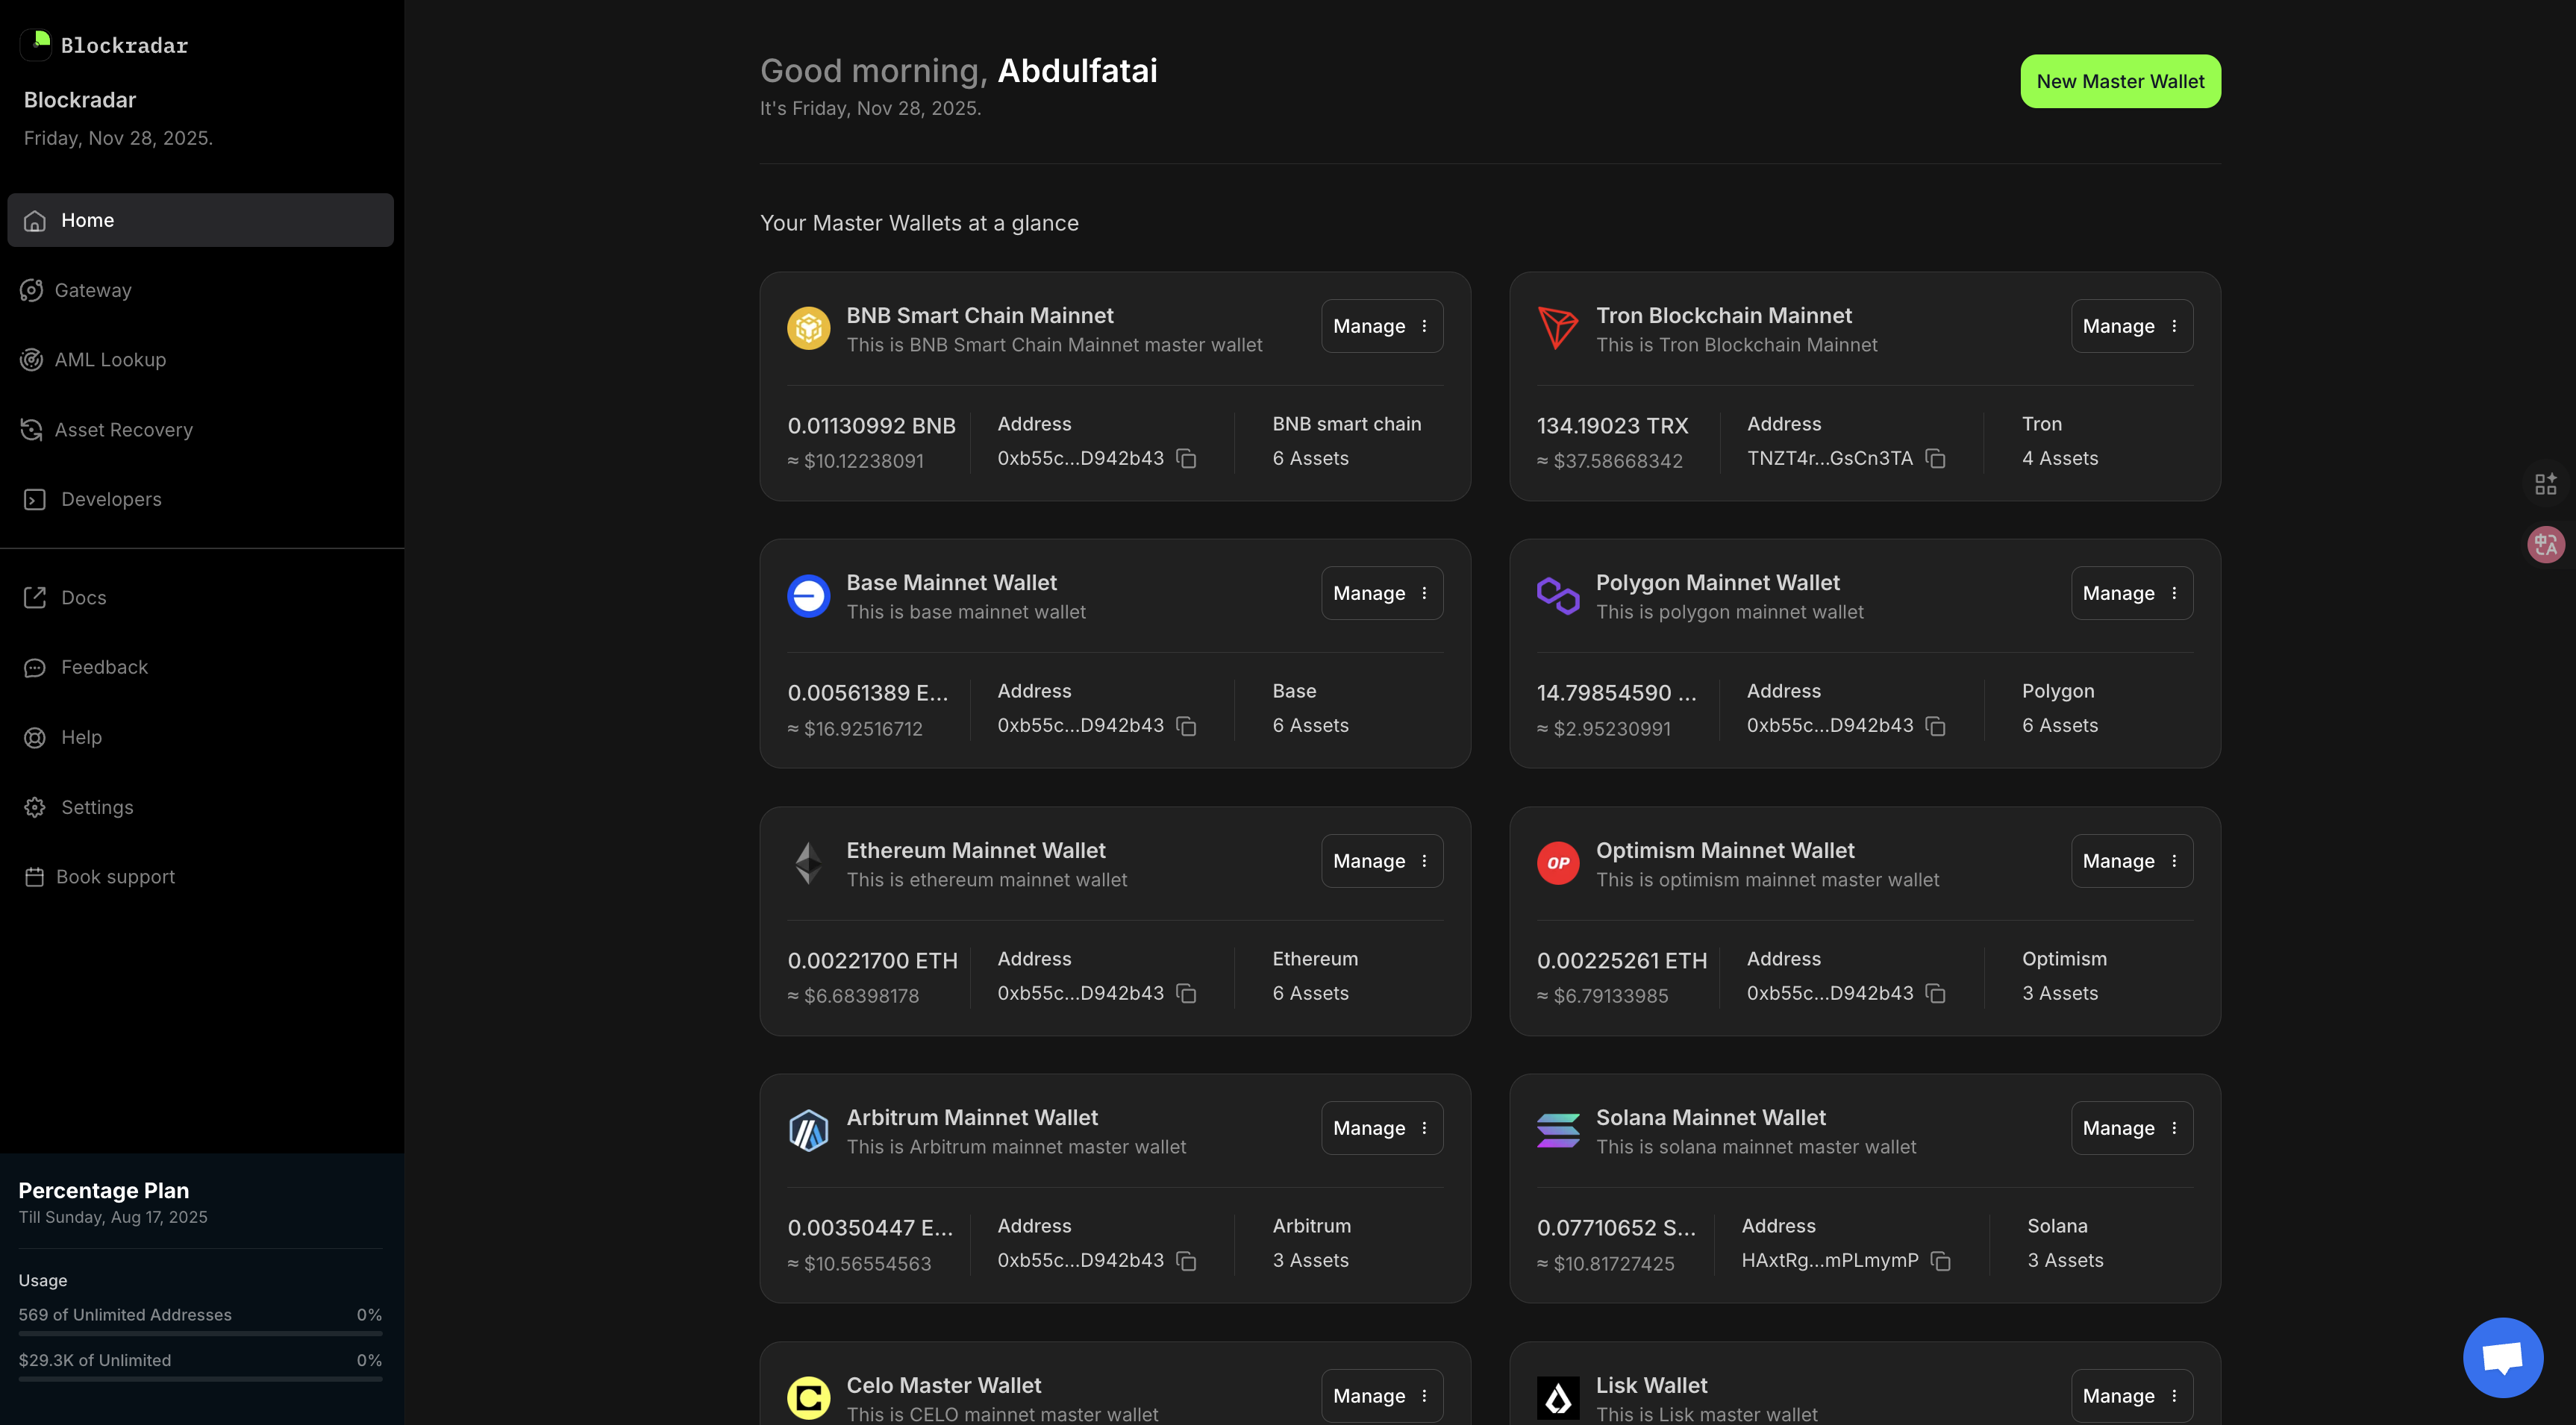 You don't need to write a single line of code to start using Blockradar. The dashboard gives you full access to wallets, payments, and transaction monitoring through a visual interface. This guide is for operators, finance teams, and anyone who wants to use Blockradar without a technical integration.
## What you can do without code
* Create and manage master wallets
* Generate payment links and share them with customers
* Send manual withdrawals to any address
* Monitor all inbound and outbound transactions
* View and replay webhook delivery logs
* Screen addresses with AML before sending
* Export transaction history
## Create a payment link
Payment links let you accept stablecoin payments without any integration. You share a link, your customer pays, and you see the funds arrive in your dashboard.
In the left sidebar, click **My Wallets → Payment Links**.
Click **Create Link**. Set the amount, token, and expiry date. Leave the amount blank to let the payer enter any amount.
Copy the generated URL and share it with your customer via email, WhatsApp, or any other channel.
When payment is received, you'll see it in the **Transactions** tab of the payment link. You'll also receive a dashboard notification.
## Send a manual withdrawal
Go to **Wallets** and select the wallet you want to send from.
Click the **Withdraw** button on the wallet overview page.
Paste the destination address, select the asset and amount, then confirm.
Enter your 2FA code to authorize the transaction.
Withdrawals are irreversible once broadcast to the blockchain. Double-check the destination address before confirming.
## Monitor transactions
The **Transactions** tab on any wallet shows every deposit and withdrawal in real time. You can:
* Filter by status, asset, date range, or address
* Click any transaction to see the full on-chain details
* Export to CSV for accounting or reconciliation
* Replay a webhook if your backend missed a notification
## Screen an address before sending
Before sending funds to a new counterparty, you can run an AML check directly from the dashboard:
In the sidebar, click **My Wallets → AML Lookup**.
Paste the wallet address you want to screen.
Blockradar checks against OFAC, FBI, Tether, and Circle blocklists and returns a risk assessment instantly.
This feature is only available in Live Mode (mainnet).
## Next steps
When you're ready to automate and scale, move to the API:
Build a full stablecoin payment flow with the API.
Explore all available endpoints.
You don't need to write a single line of code to start using Blockradar. The dashboard gives you full access to wallets, payments, and transaction monitoring through a visual interface. This guide is for operators, finance teams, and anyone who wants to use Blockradar without a technical integration.
## What you can do without code
* Create and manage master wallets
* Generate payment links and share them with customers
* Send manual withdrawals to any address
* Monitor all inbound and outbound transactions
* View and replay webhook delivery logs
* Screen addresses with AML before sending
* Export transaction history
## Create a payment link
Payment links let you accept stablecoin payments without any integration. You share a link, your customer pays, and you see the funds arrive in your dashboard.
In the left sidebar, click **My Wallets → Payment Links**.
Click **Create Link**. Set the amount, token, and expiry date. Leave the amount blank to let the payer enter any amount.
Copy the generated URL and share it with your customer via email, WhatsApp, or any other channel.
When payment is received, you'll see it in the **Transactions** tab of the payment link. You'll also receive a dashboard notification.
## Send a manual withdrawal
Go to **Wallets** and select the wallet you want to send from.
Click the **Withdraw** button on the wallet overview page.
Paste the destination address, select the asset and amount, then confirm.
Enter your 2FA code to authorize the transaction.
Withdrawals are irreversible once broadcast to the blockchain. Double-check the destination address before confirming.
## Monitor transactions
The **Transactions** tab on any wallet shows every deposit and withdrawal in real time. You can:
* Filter by status, asset, date range, or address
* Click any transaction to see the full on-chain details
* Export to CSV for accounting or reconciliation
* Replay a webhook if your backend missed a notification
## Screen an address before sending
Before sending funds to a new counterparty, you can run an AML check directly from the dashboard:
In the sidebar, click **My Wallets → AML Lookup**.
Paste the wallet address you want to screen.
Blockradar checks against OFAC, FBI, Tether, and Circle blocklists and returns a risk assessment instantly.
This feature is only available in Live Mode (mainnet).
## Next steps
When you're ready to automate and scale, move to the API:
Build a full stablecoin payment flow with the API.
Explore all available endpoints.