> ## Documentation Index
> Fetch the complete documentation index at: https://docs.blockradar.co/llms.txt
> Use this file to discover all available pages before exploring further.
# Create an Account
> Sign up, complete business info, and get your workspace ready in minutes.
Before you can create wallets or make API calls, you need a Blockradar account. This guide walks you through signup, business verification, and getting your workspace ready.
## Step 1: Sign up
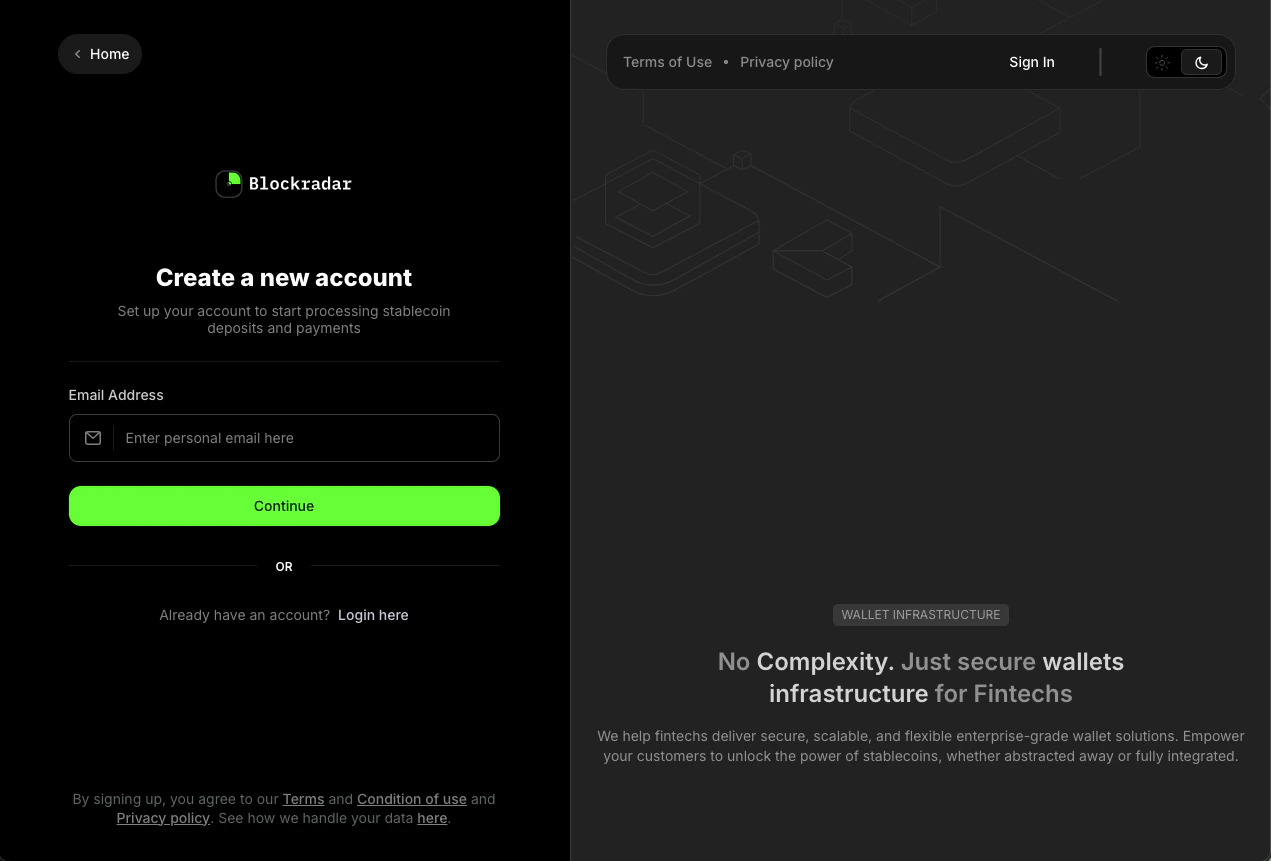
Go to [dashboard.blockradar.co/signup](https://dashboard.blockradar.co/signup) and enter your email address. You'll receive a verification email — click the link to continue.
 ## Step 2: Add business information
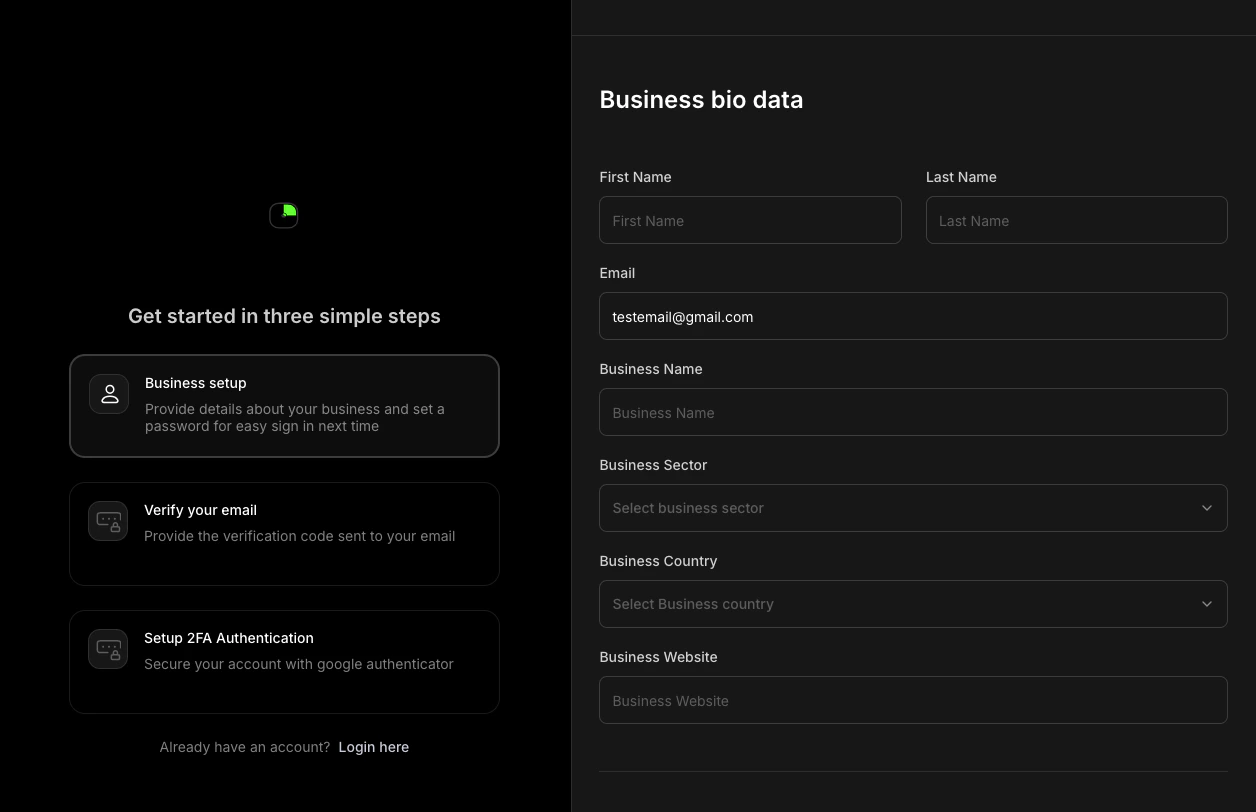
Enter your company name, business sector, country, and website.
We will send you a 6-digit code to your email to verify it.
Set up two-factor authentication (2FA). This is required before you can access API keys or perform withdrawals.
## Step 2: Add business information
Enter your company name, business sector, country, and website.
We will send you a 6-digit code to your email to verify it.
Set up two-factor authentication (2FA). This is required before you can access API keys or perform withdrawals.
 ## Next steps
Set up your first wallet and pick a network.
Follow a complete end-to-end integration walkthrough.
## Next steps
Set up your first wallet and pick a network.
Follow a complete end-to-end integration walkthrough.